
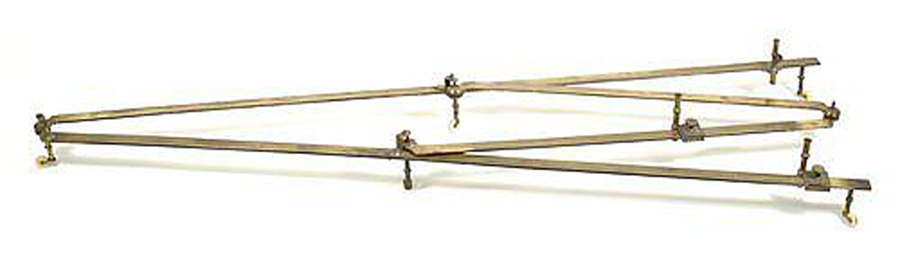
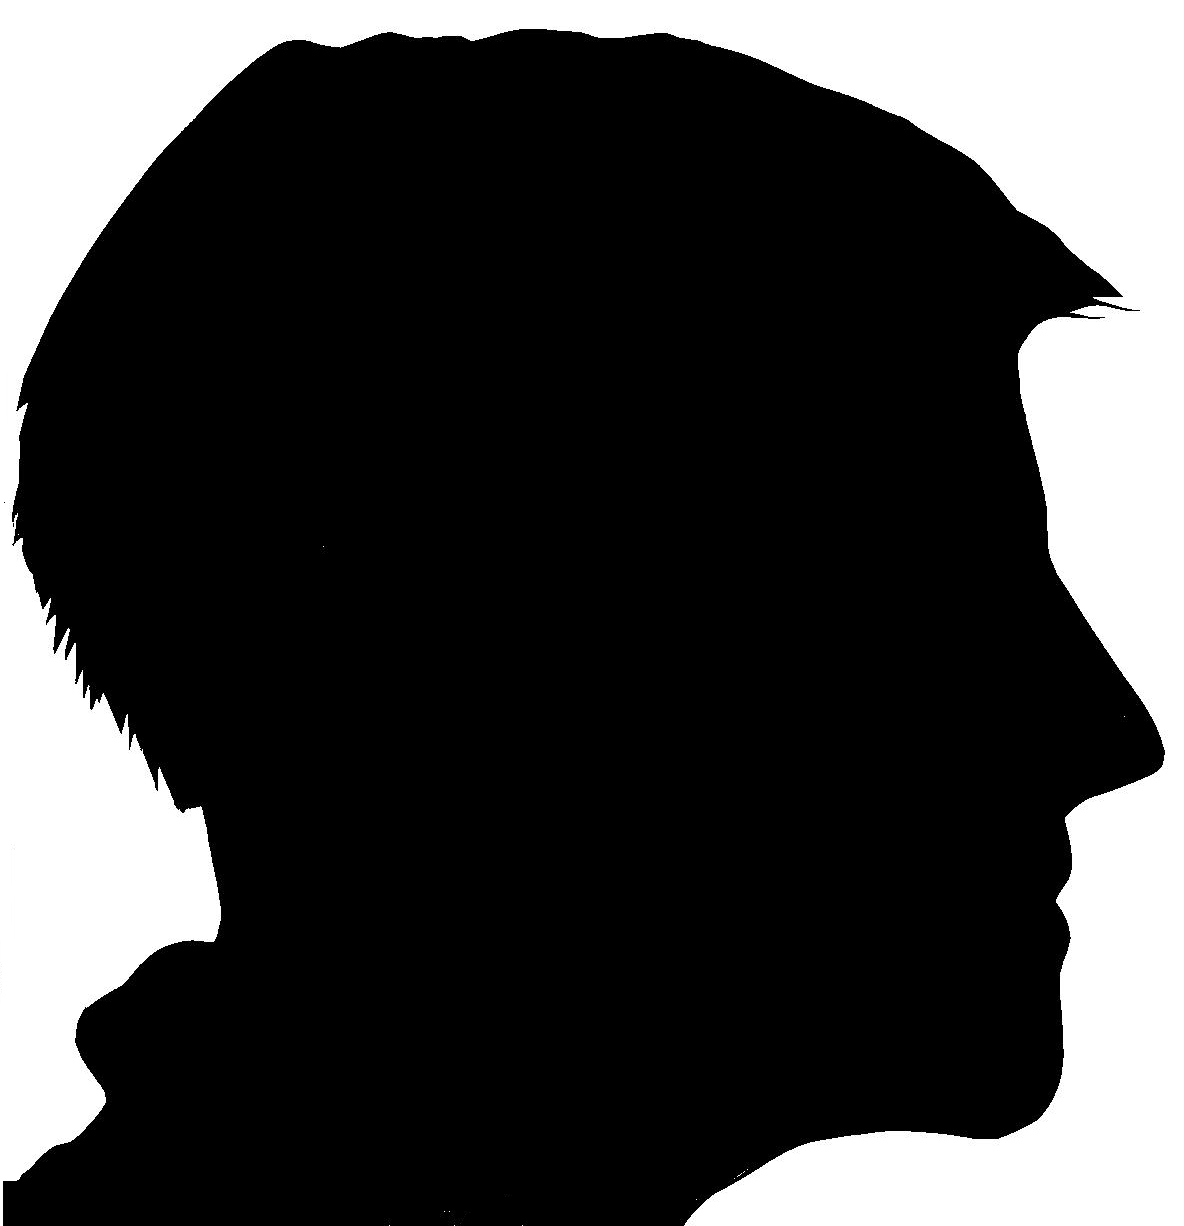
Richard Dykes Alexander (1788-1866)
by Samuel Metford
(Pic. Vol. II)
Silhouettes – solid profile images – have long been a popular form of portraiture, though the name itself only dates back a couple of hundred years. The side or profile view of a subject, whether on coins and medals or cut from paper, provides an instantly recognisable likeness. Visitors to the Library in 2011 saw a selection of fine silhouettes from our collections in the reading room display, “The Face of Quakerism”, curated by Joanna Clark, our former picture librarian. In this blogpost we bring some of our silhouettes to a wider audience, and, at the end, instructions on how you can “do it yourself”!
From the late 18th century, the art of cutting paper profiles became something of a craze. Known as “shades”, “black profiles”, “shadow portraits” or “scissor-types”, the name that caught on was “silhouette” (derived from the austerity measures of the French finance minister, Etienne de Silhouette, whose surname had become synonymous with anything done cheaply). Whether as amateur pastime or professional portraiture, silhouettes were both cheap and immensely popular, dwindling only in popularity after the late 1850s, when photography became more affordable.
Quakers and silhouettes
By 1800 the “scissors art” or cutting of silhouettes was already a popular hobby among Quakers. One of the most prolific and notable of the earlier silhouettists was Thomas Pole (1759-1823), who was born in Philadelphia but practised as a physician in England. A generation later, Samuel Metford of Glastonbury (1810-96) became the first Quaker to practise as a professional silhouette artist. He too had learned the art when in America on business, and from the 1830s to 1860s he travelled as a “profilist” around Britain, often using the local Quaker meeting as his source of custom. The Library holds quite a few of his elegant silhouette portraits, and his work is highly respected among modern collectors.

Thomas and Elizabeth Pole by Thomas Pole
(Pic. Vol. II, p. 34)

Joshua Metford (1755-1833) by Samuel Metford (F.187)
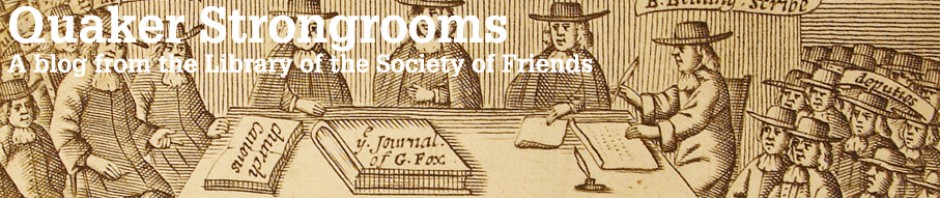
Elizabeth Heyrick (1769-1931)
(MS VOL 239/237)

The Sturge Family, ca. 1820. From William R. Hughes, Sophia Sturge: a memoir (London, 1940) (092.4 STU/HUG)
The making of silhouettes – or “scissors art”
The traditional method of creating silhouette portraits is to cut them from lightweight black cardboard, and mount them on a pale (usually white) background. However, silhouettes can also be “hollow cut”, where the figure is cut away from the paper thereby leaving a negative image. The paper outline is then backed with a contrasting colour of paper or fabric.
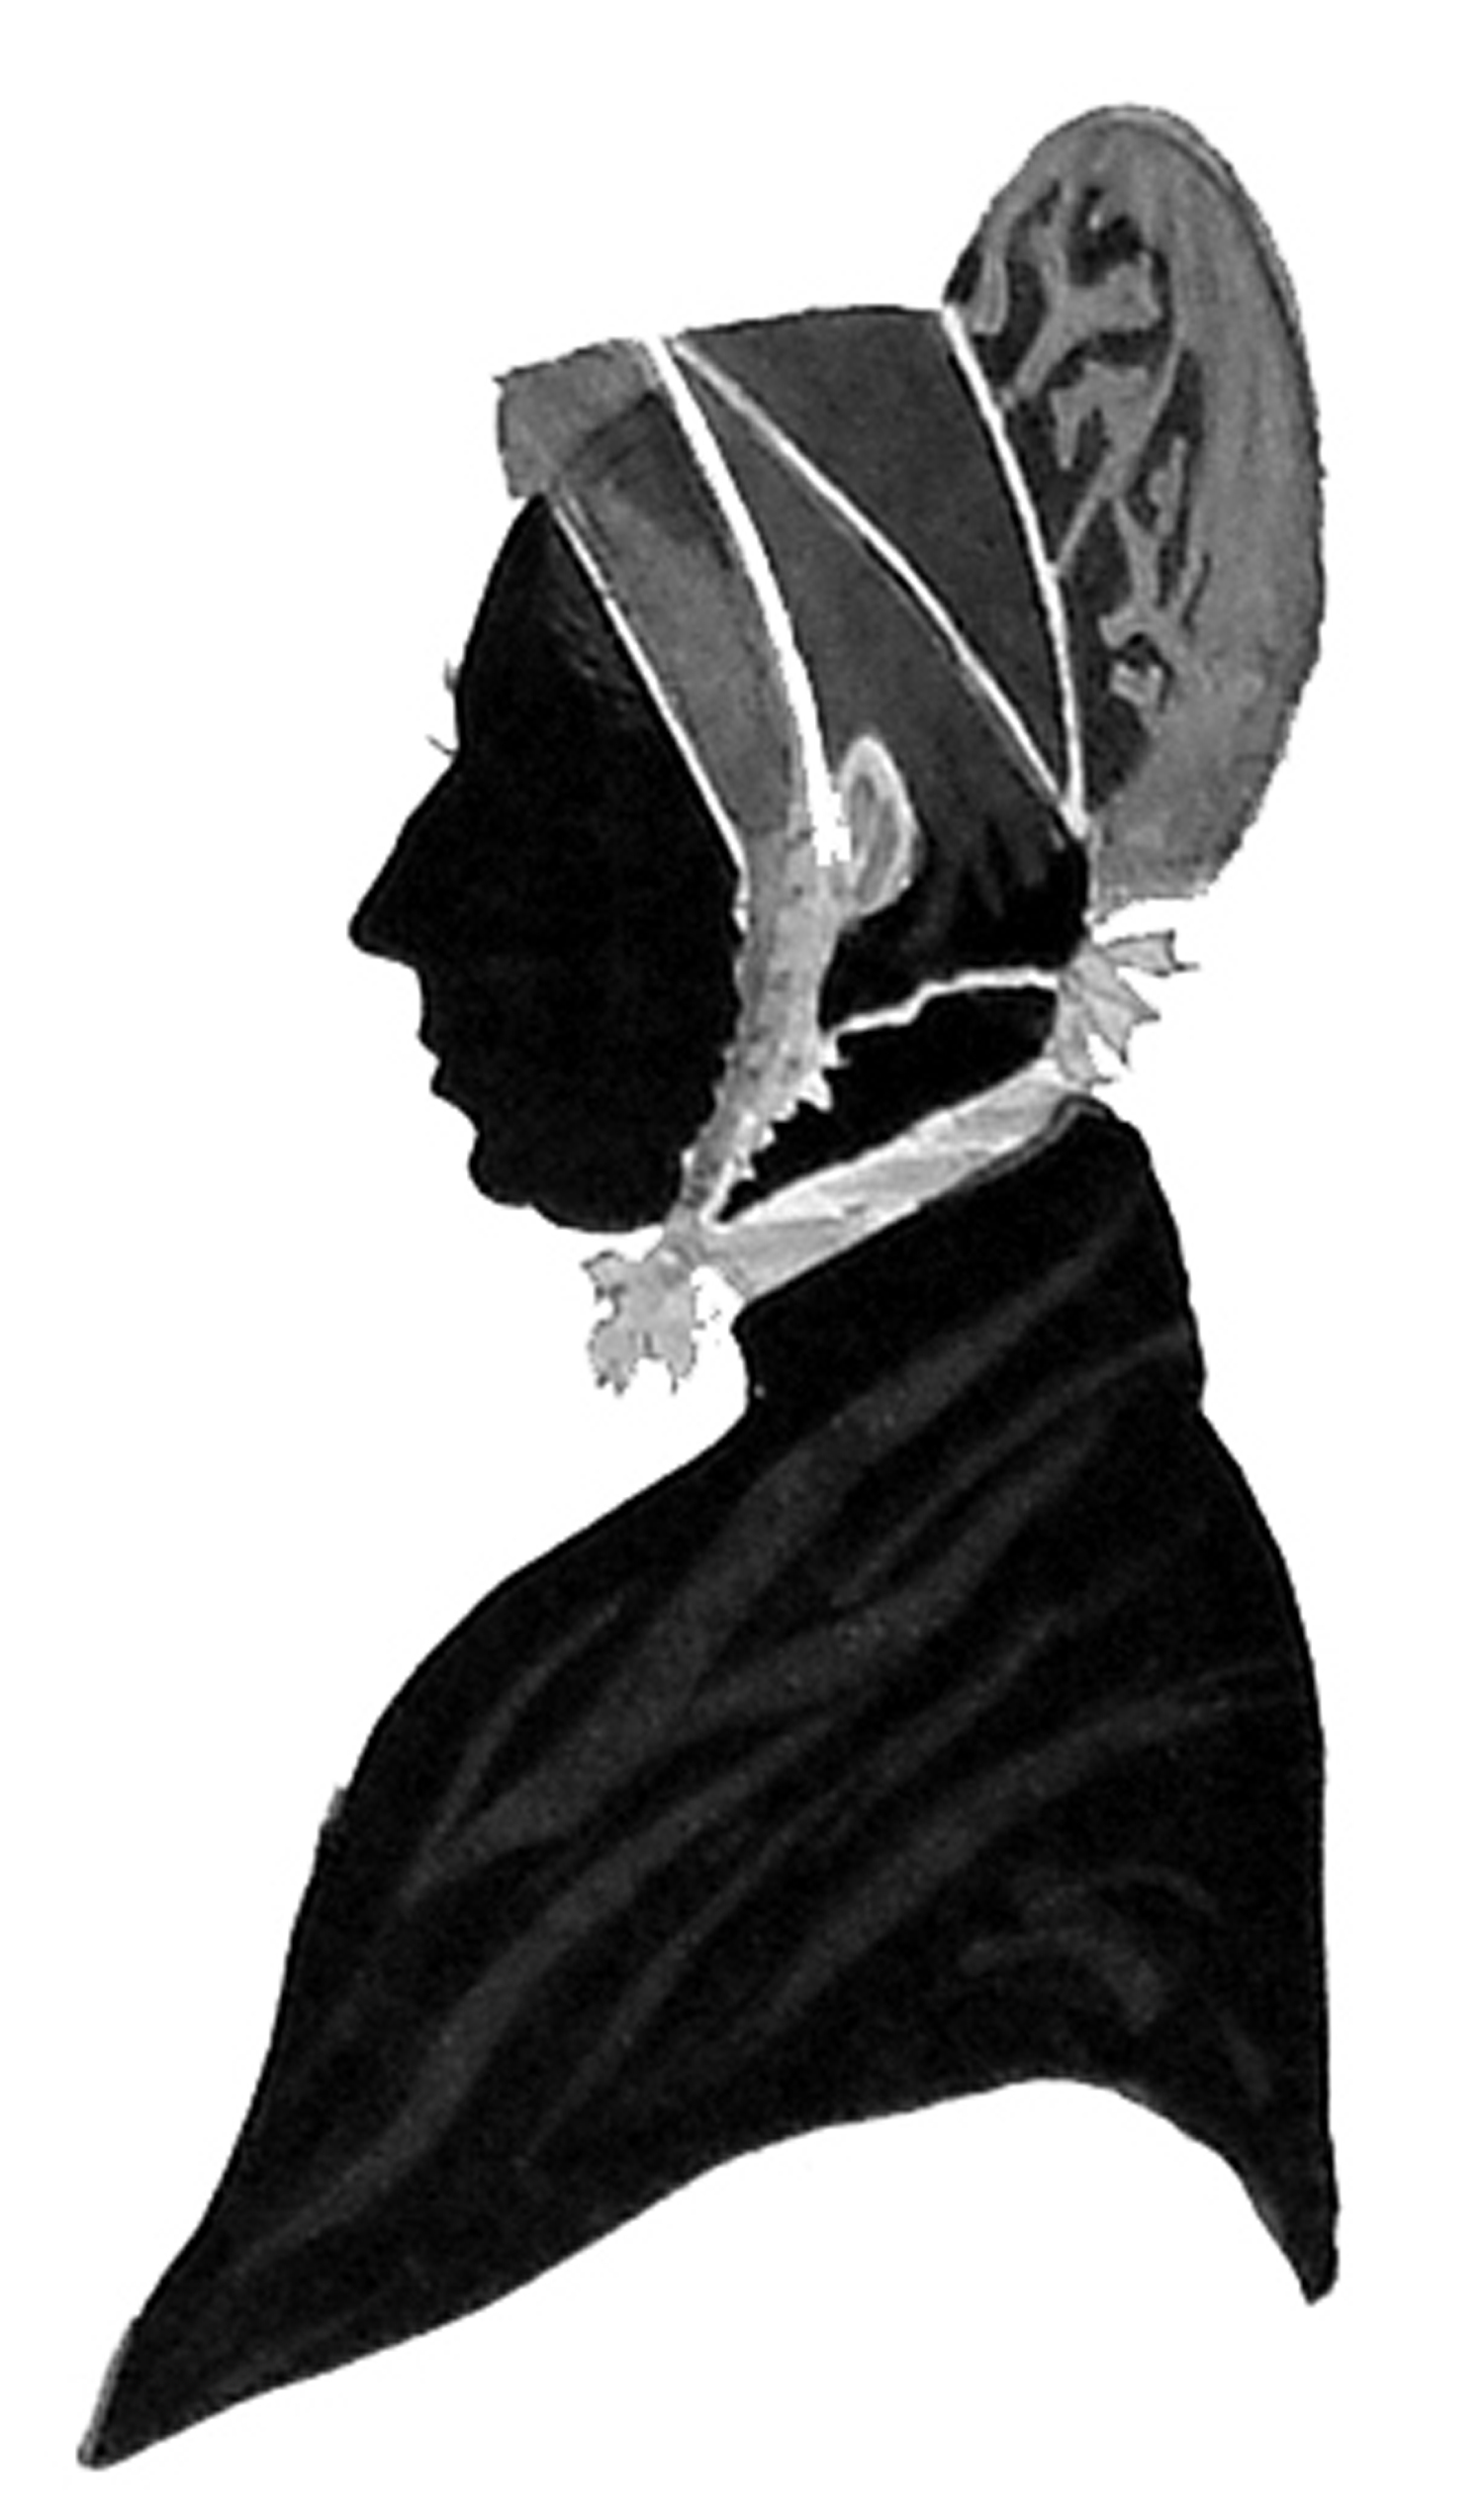
The traditional silhouette portrait artist or “profilist” could cut the likeness of a person, freehand, within a few minutes. However, by the 1820s some English profilists favoured the aid of a camera obscura, which casts a shadow of the person on paper, to provide an outline. This life-sized outline served as the artist’s cartoon or draft. The finished miniature silhouette could then be made using a reducing instrument known as a pantograph. Skilled artists would add detail afterwards – pastels might be used to create light and shade, and occasionally scraps of fabric were added to create a realistic bonnet or collar. Artists would talk of “taking” a silhouette in much the same way that photographers “take” a photograph.
English Pantograph, 19th century
Silhouette cutting: do it yourself
In the interests of historical research we decided to have a go at making silhouettes ourselves. The results were … interesting!


If you’d like to try it yourself, here’s how we did it (takes about 15-20 minutes):
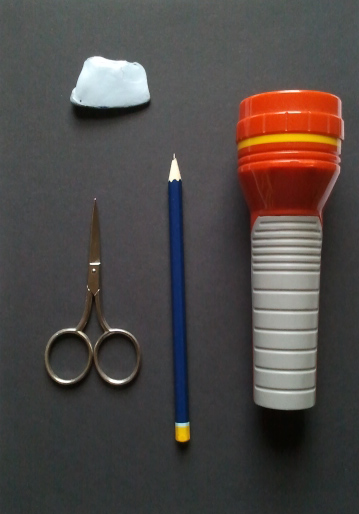
Materials
 1 A3 sheet white paper
1 A4 sheet black paper or light card
1 A4 sheet white/cream paper for mounting the silhouette
1 photocopier (there was no pantograph to hand) with A4 paper
2B pencil
Torch or bright lamp
Glue stick
Blu-tack
Embroidery scissors
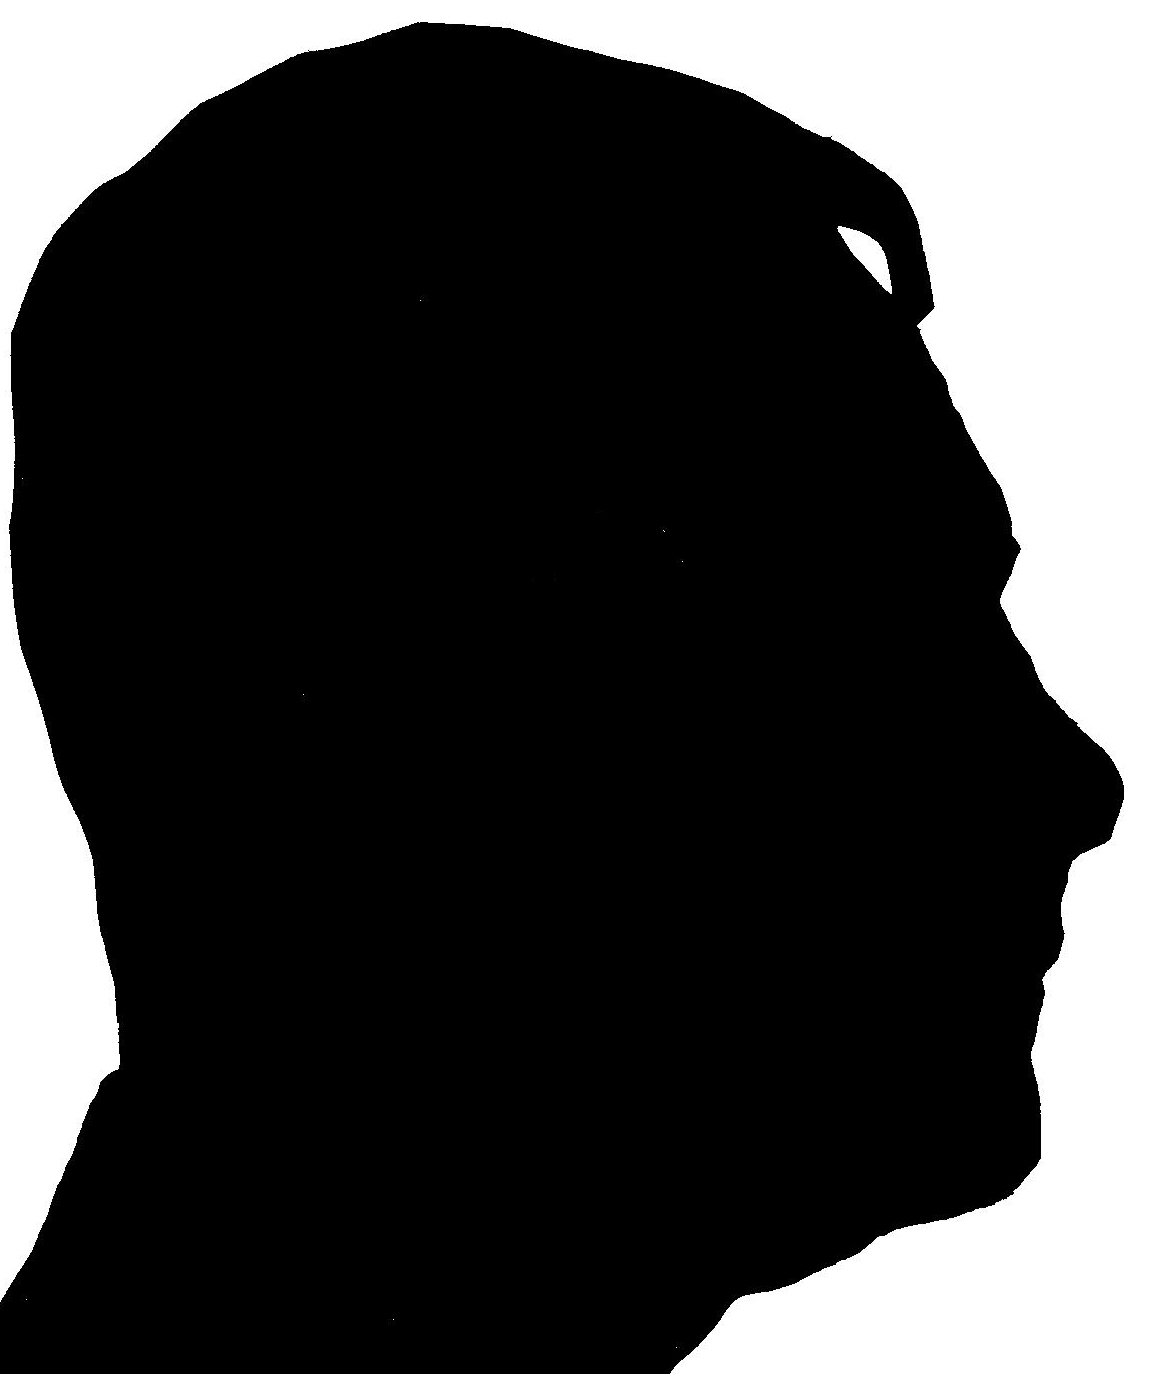
Instructions
1. Sit or stand the subject sideways next to a smooth wall surface in a dark room. Position the torch or bright lamp 3 or 4 metres away so that the sitter’s shadow falls sharply on the wall. Position the A3 sheet of white paper where shadow falls, and fix it with Blu-tack.
2. Adjust the sitter so that her/his head and neck shadow lies within the area of the paper. At this point, reduce any other light in the room, if you haven’t already. Standing beside the sitter, draw round the shadow as quickly and carefully as possible.
3. Take the drawing on the A3 sheet and photocopy it to reduce the image size onto A4 (or smaller if you like).
4. Lightly glue the outer margins of your A4 photocopy on the reverse, with a blob in the middle of the paper and position it on top of the A4 sheet of black paper or light card. Carefully cut around the profile (through both white and black paper), taking particular care to cut smoothly around the nose, lips and chin.
5. Discard outer pieces, peel off the white paper and voilà, one beautiful silhouette ready for mounting!

I’m going to use this technique at the school I work with. Thanks for sharing.
Pingback: Playing with shadows: silhouette portraits and how to make them | The life and family of the Quaker William Penn
I think it would be simpler to point an overhead projector (switched off) at the subject of the portrait. Adjust the focus so that the image falls on the plate of the projector, which should be covered with an A4 sheet of white paper.
With the introduction of data projectors, many OHPs are being discarded.
Easier if you’ve got an overhead projector perhaps. Most people don’t.
I have an OHP and would like to try this method – any additional information you can share?
This is best done in a fairly dark room, with plenty of light on the object to be copied.
Pingback: Some new fruits of research in the Library’s collections | Quaker Strongrooms
I use the sun at the right time of day & photograph my shadow in my landscape.
Pingback: Profiling | the republic of less
Pingback: Co-curricular assignment: History and Creative Writing | Hedgehog's Quill
Pingback: Zoe's blog
How do you photo copy to the other sheet?
Hi Brenda, we used a photocopier set to reduce the size of the drawing from A3 to A4. Then we stuck that white paper with the reduced size image onto black card with a bit of blu-tack and cut through both the white and the black to leave a neat black cut-out silhouette. Hope that makes sense!
Really helpful article. I’m going to test it out on my house but I honestly think that the best results would happen when using the tips.